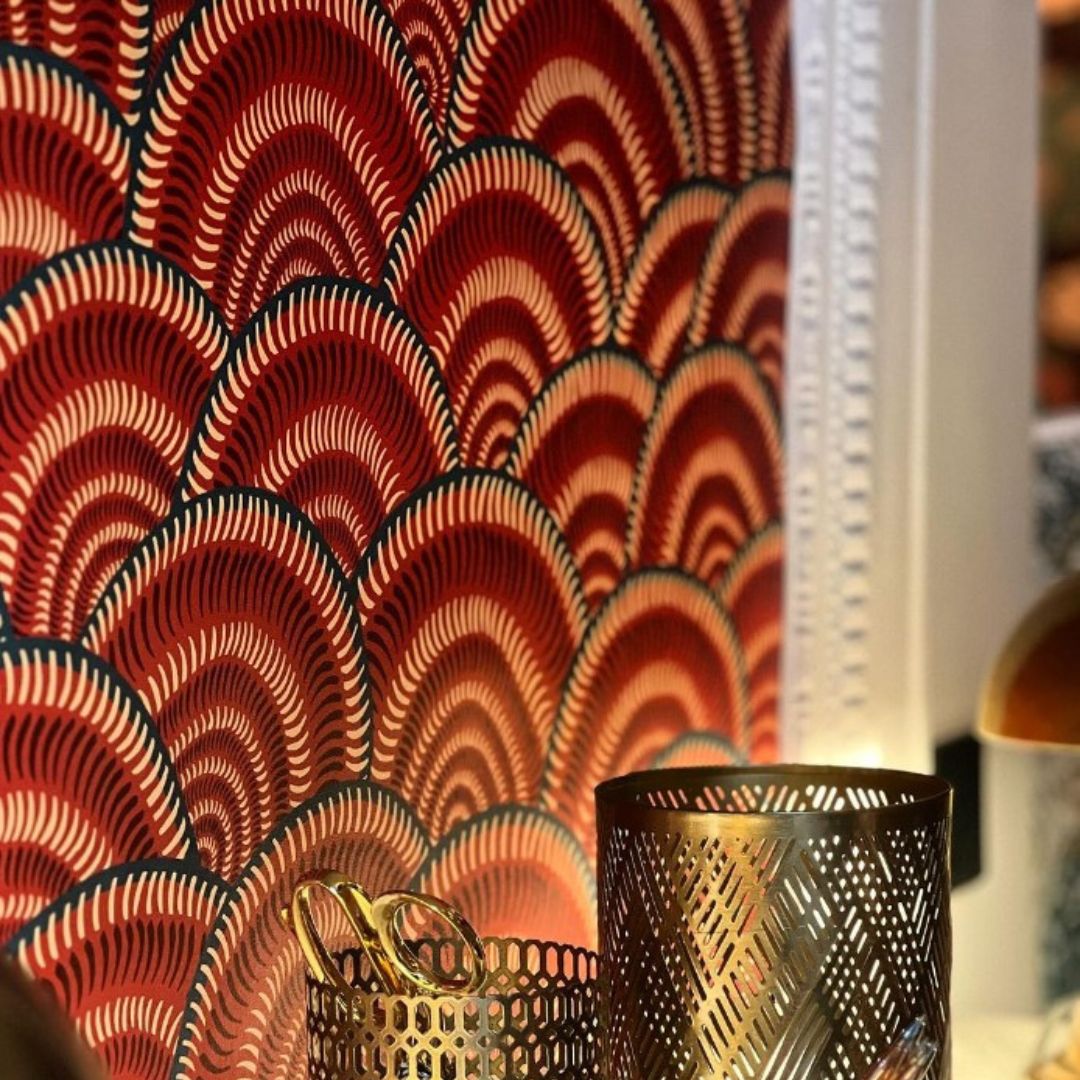
How to create a spectacular wall with ease?
Woven wallpaperhas become one of the most popular choices for wall decoration, and it's not without reason. Not only does it offer a wide range of patterns and textures to suit all tastes, but it is also easier to handle and lay than traditional wallpapers. If you plan to breathe new life into your interior with non-woven wallpaper, heresome essential tipsfor a successful installation.
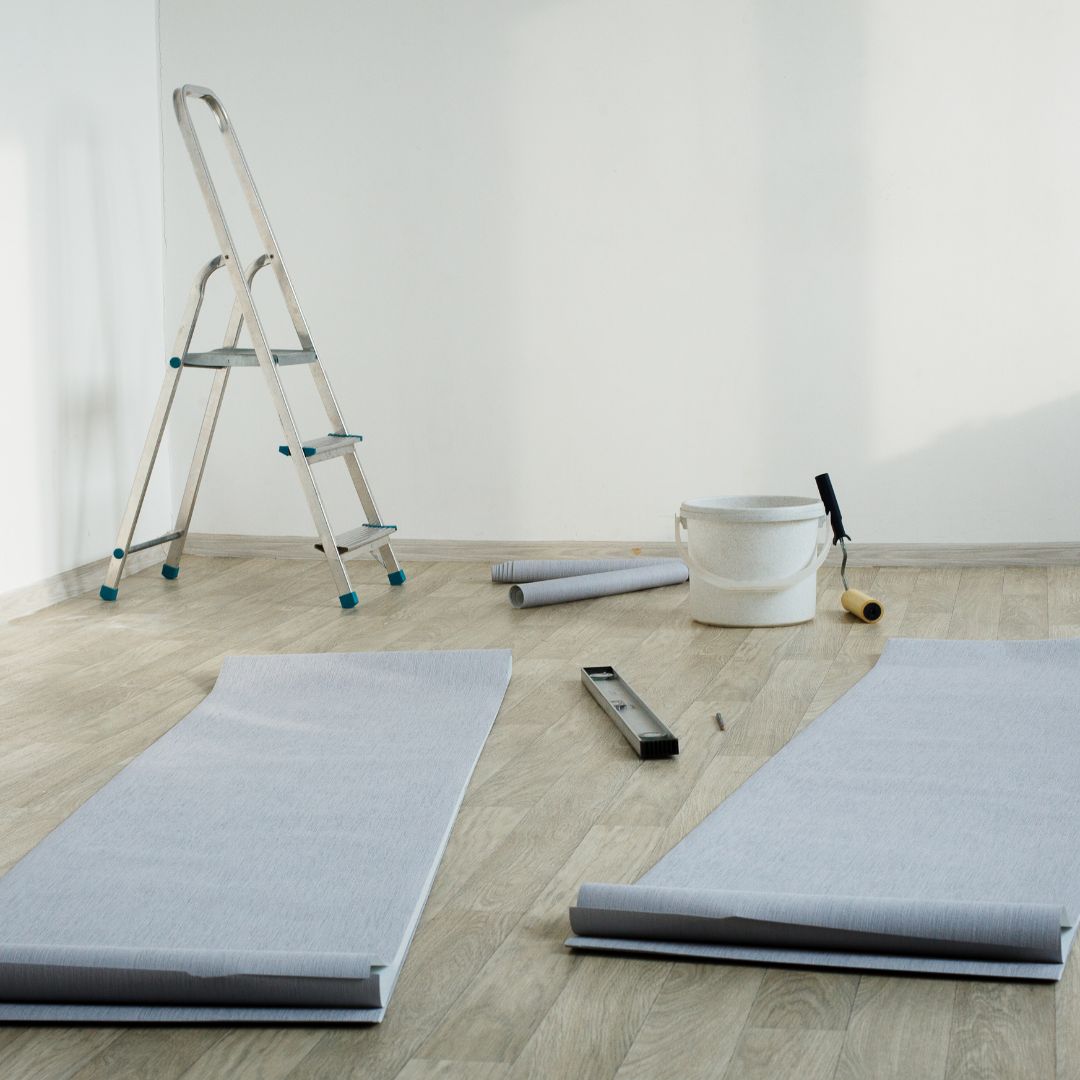
1.Preparing the wall
Before you start laying non-woven wallpaper, make sure your wall is clean, dry and smooth. If necessary, apply a coat of primer to ensure better adhesion of the wallpaper.
Also repair cracks or holes with a suitable coating and sand them to obtain a uniform surface.
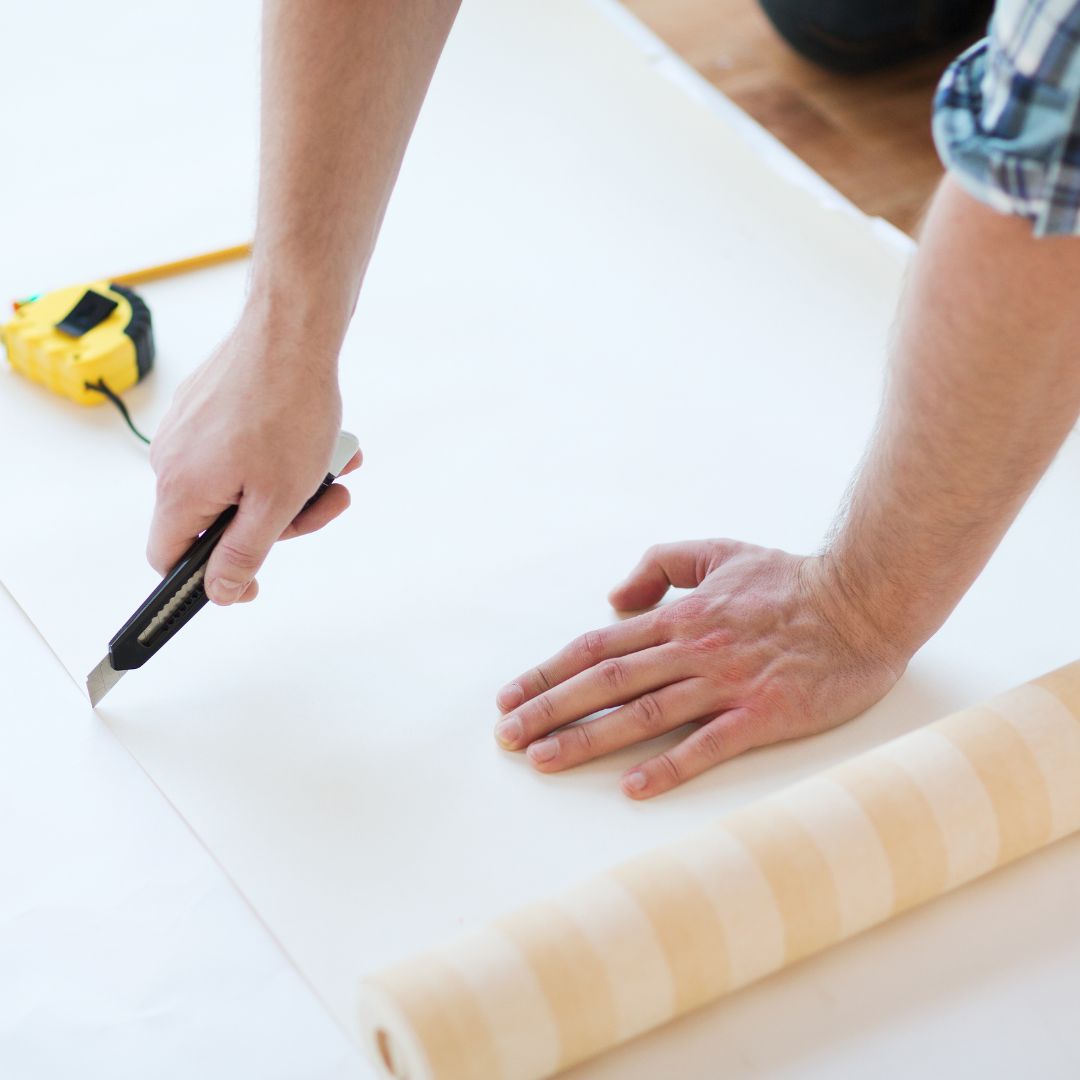
2.Measure and cut accurately :
Take accurate measurements of the height and width of your wall, adding a few extra inches for cuts and adjustments.
Place your wallpaper on a table and make a small pencil mark at the height of the calculated length (see: I calculate my fittings)
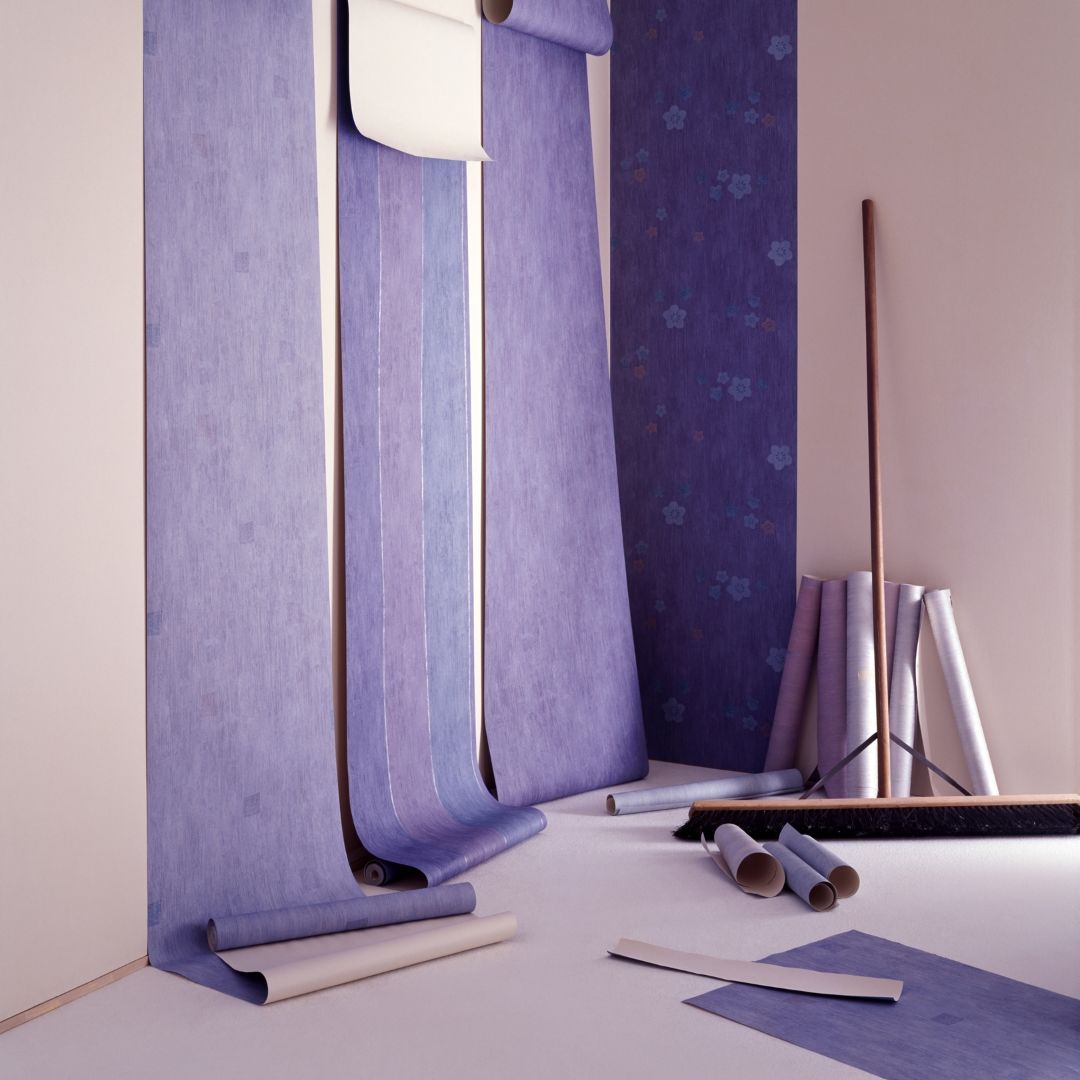
The leses can be numbered so as not to become entangled afterwards  . We roll them inwards.
Use a knife and metal ruler to cut the non-woven wallpaper to the dimensions of your wall. Be sure to work on a clean, flat surface to avoid unnecessary tearing.
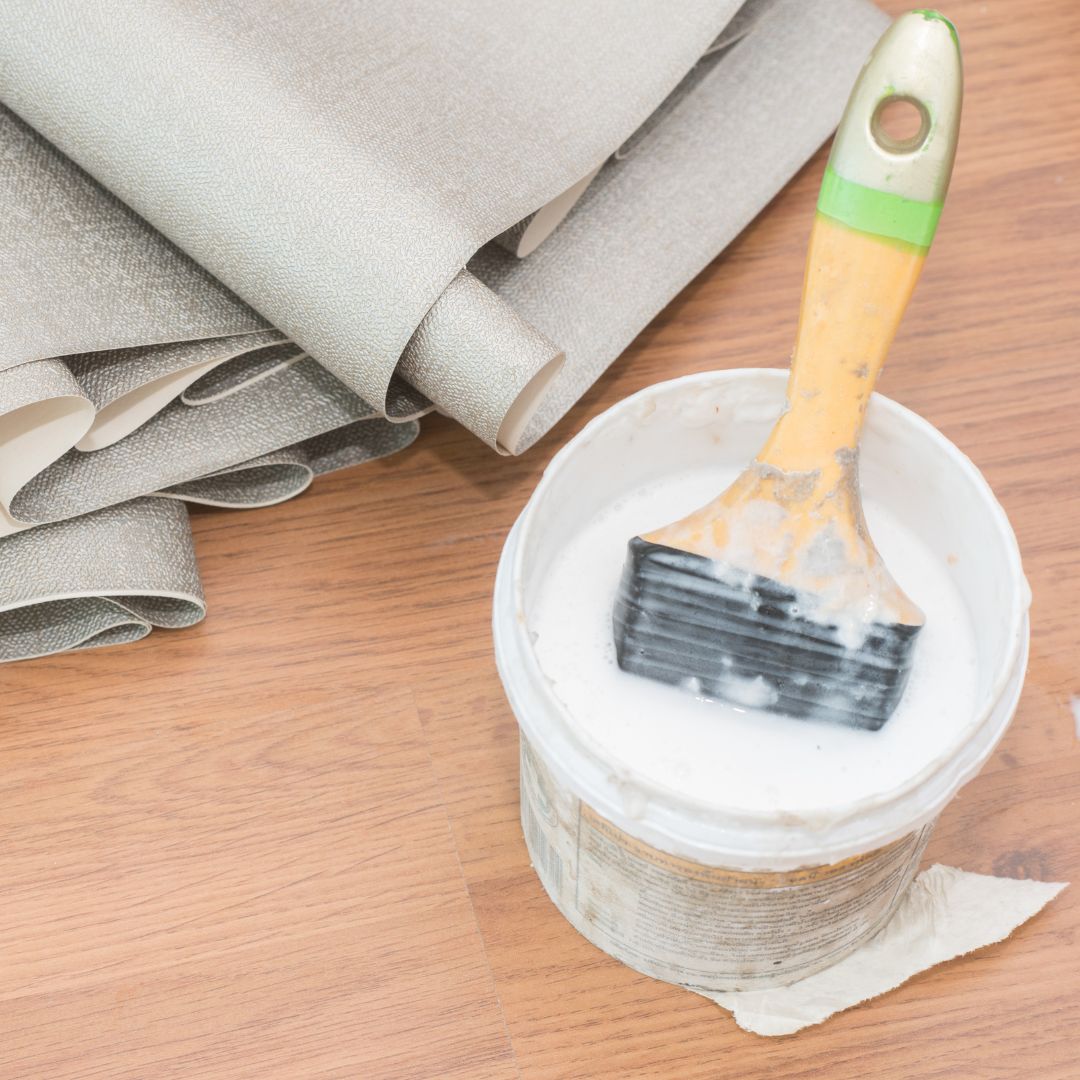
3.Glue the wall directly:
Depending on the type of wallpaper you have chosen, you can choose to pre-glue the back of the paper or glue the wall directly.
For our guests we ser...thevenon wallpapersthe glue will be placed directly on the wall, this technique is easier especially if you are new to wallpaper installation!
Be sure to apply the glue evenly over the entire area corresponding to the size of the web. Use a glue brush or a brush, you can protrude a few cm to be sure that the edges are well glued.
4.Install wallpaper accurately:
Start by placing the first wad of non-woven wallpaper in a corner of the wall, making sure it is straight and aligned.
Use a spirit level to check the horizontality of the paper. Then smooth the wallpaper using a spatula or aupholstery brushclean from the center to the edges to remove air bubbles and creases. Repeat the process for each leash, making sure the patterns fit together perfectly.
If you got it wrong don't panic: the non-woven wallpaper can peel off easily as long as the glue is not dry and you can then reposition it
5.Cut out excess and finalize:
Once all the strips have been laid, use a knife to cut off the excess wallpaper at the top and bottom of the wall as well as at the corners. Be precise in your cuts to achieve a clean and professional result. Finally, give the whole wall one last stab with a spatula to make sure the wallpaper is well glued and smooth.
If the glue overflows, wipe immediately with a damp sponge.
6.Let dry and admire the result:
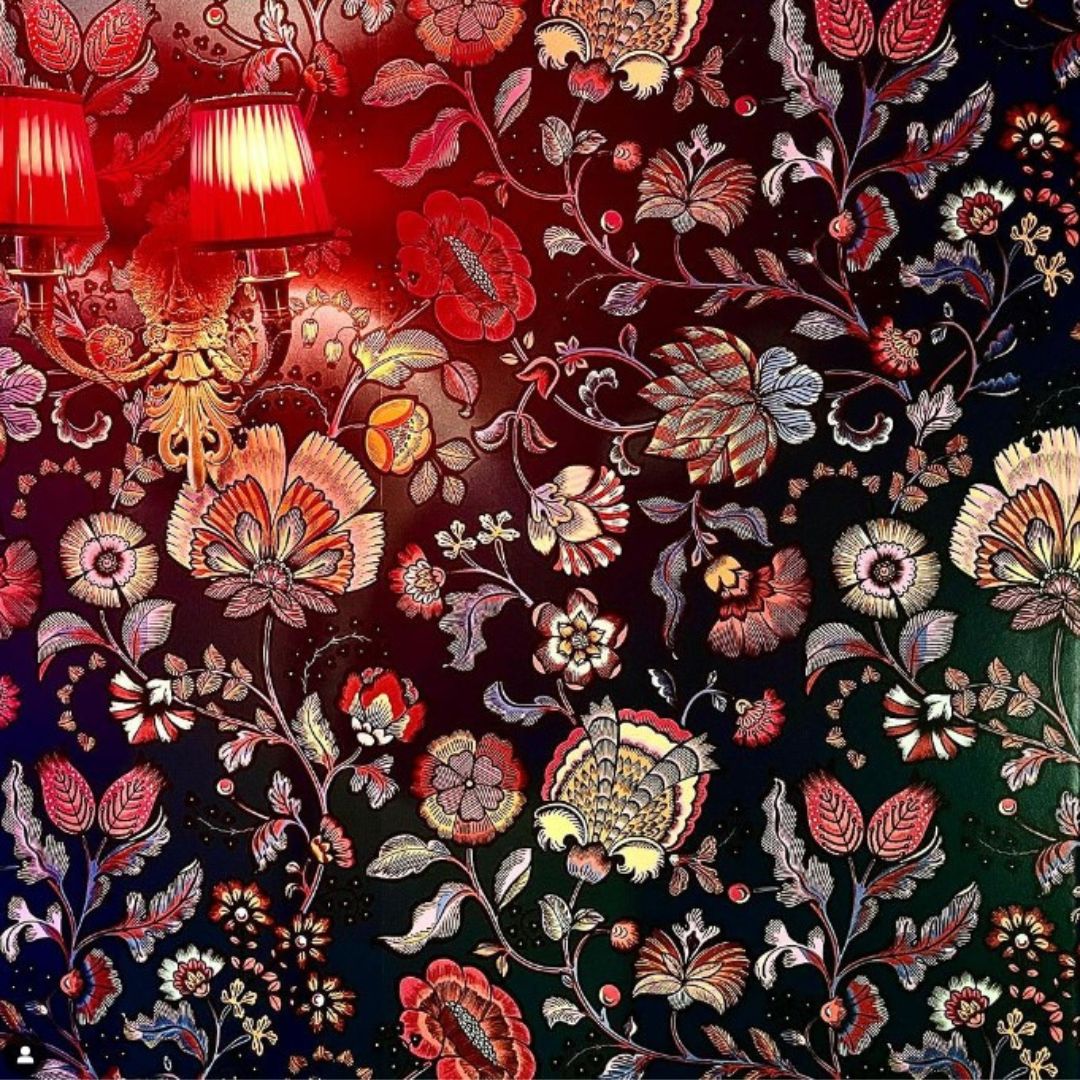
After completing the installation, let it dry completely according to the manufacturer's recommendations before installing your furniture or decorating the room. Once dry, step back and admire the resultspectacularthat you created with minimal effort and time.
By following these simple but essential tips, you can successfully install non-woven wallpaper and transform any room into an elegant and welcoming space. Whether you opt for bold patterns or subtle textures, non-woven wallpaper is a versatile choice that can bring your home decor ideas to life. So jump in and let your creativity run wild to create a wall that will turn heads and inspire admiration.